
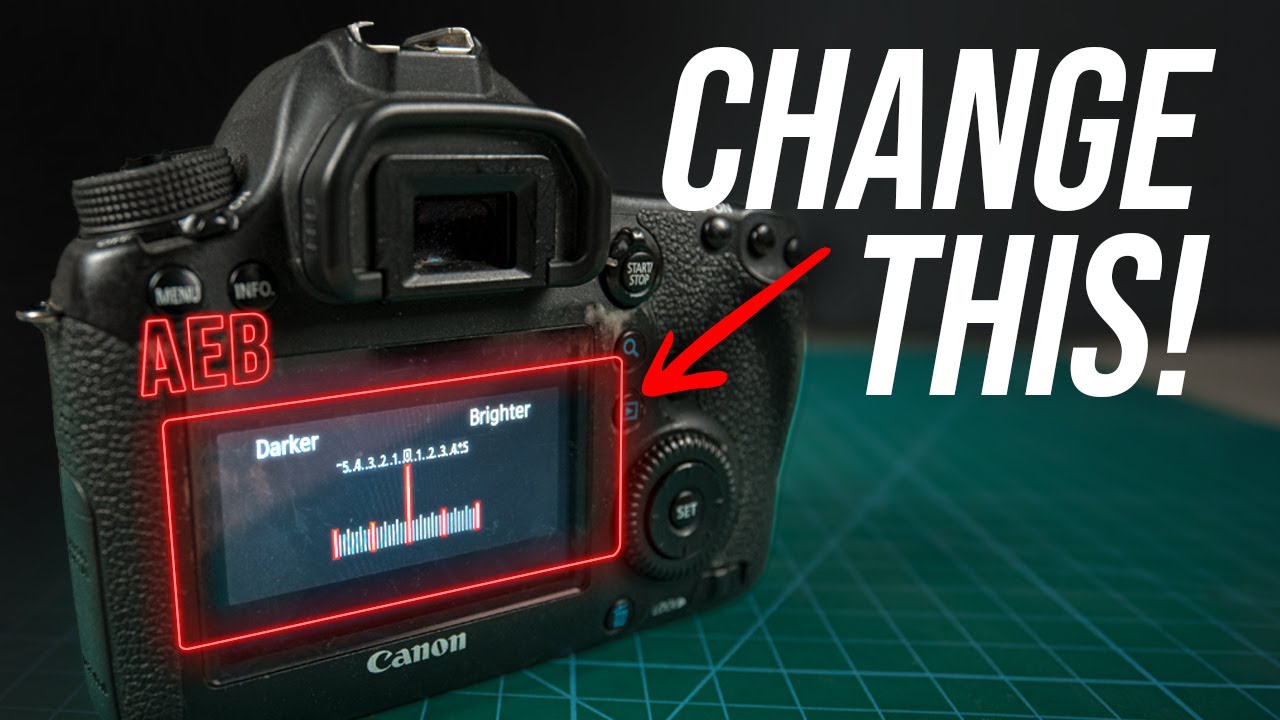


Photographers often encounter challenging lighting conditions when capturing forest scenes or sunset landscapes. The shadows can pitch black or highlights can get blown out, creating a struggle to achieve perfect exposure. Unlike human eyes, cameras have a simpler range of dynamics and struggle with maintaining detail in both bright and dark areas. Christian Möhrle, a professional photographer, highlights a setting that solves this problem – Auto Exposure Bracketing (AEB).
Understanding AEB and Its Importance
When capturing sceneries featuring deep shadows in the foreground and a bright sky, the camera may perfectly capture the sky but lose shadow details. If you expose the shadows, the result might be an overexposed sky area, spoiling the overall composition. AEB efficiently handles such situations.
The AEB function allows the camera to capture different exposures of the same scene at varying levels of brightness – a base exposure and bracketed over and under-exposed shots. These exposures, when merged in post-processing, produce an HDR image that maintains excellent detail in both highlights and shadows.
The Rise of the 5-Shot AEB
Typically, photographers use the 3-shot AEB, which includes a base exposure with one stop under and over. However, Christian advocates for using a 5-shot AEB to extract even more detail from the scene. This technique is particularly useful for scenes with substantial contrast, such as landscapes with brightly lit skies and dark foregrounds.
Preparing for the 5-Shot AEB
Christian walks us through the 5-shot AEB setup:
- Go to your camera’s menu and find the AEB setting. This might be listed under “AEB,” “Bracketing,” or a similar term.
- Opt for the 5-shot option. Though some cameras offer more bracketed exposures, 5 provides a good balance between detail capture and handling file size.
- Adjust the bracketing increment. Christian suggests using a 2-stop increment for each bracketed exposure, capturing a wider tonal range.
Post-Shooting processing
After capturing the shots, you will have to merge the five exposures. Import these shots into your preferred software, search for a feature to create an HDR image, and merge the exposures.
The resultant image provides more control over shadows and highlights without inducing noise. You can then experiment with adjustments to bring out the best details of your scene.
When the 5-shot AEB Falls Short
Although the 5-shot AEB method is excellent, it may not fit all scenarios. For scenes with motion, the merging process might create ghosting artifacts due to moving objects. Also, as one might imagine, storing more images requires more space, and processing HDR images can be slightly more time-consuming.
Regardless of these potential downsides, testing out the 5-shot AEB could be worth it — it may become an essential tool in your photographic arsenal.