Live streaming has become increasingly popular, allowing content creators to engage with their audience in real-time. While single-camera setups are common, multi-cam live streaming adds a professional touch, enhancing the viewer experience. In this guide, we’ll walk you through the step-by-step process of producing a multi-cam live streaming event that will captivate your audience.
Step 1: Determine Your Content and Objectives
Before diving into the technical aspects, define the purpose of your live stream. Identify the type of content you want to deliver and the objectives you aim to achieve. This will help you determine the number of cameras needed and the angles you want to capture.
Step 2: Camera Selection and Placement
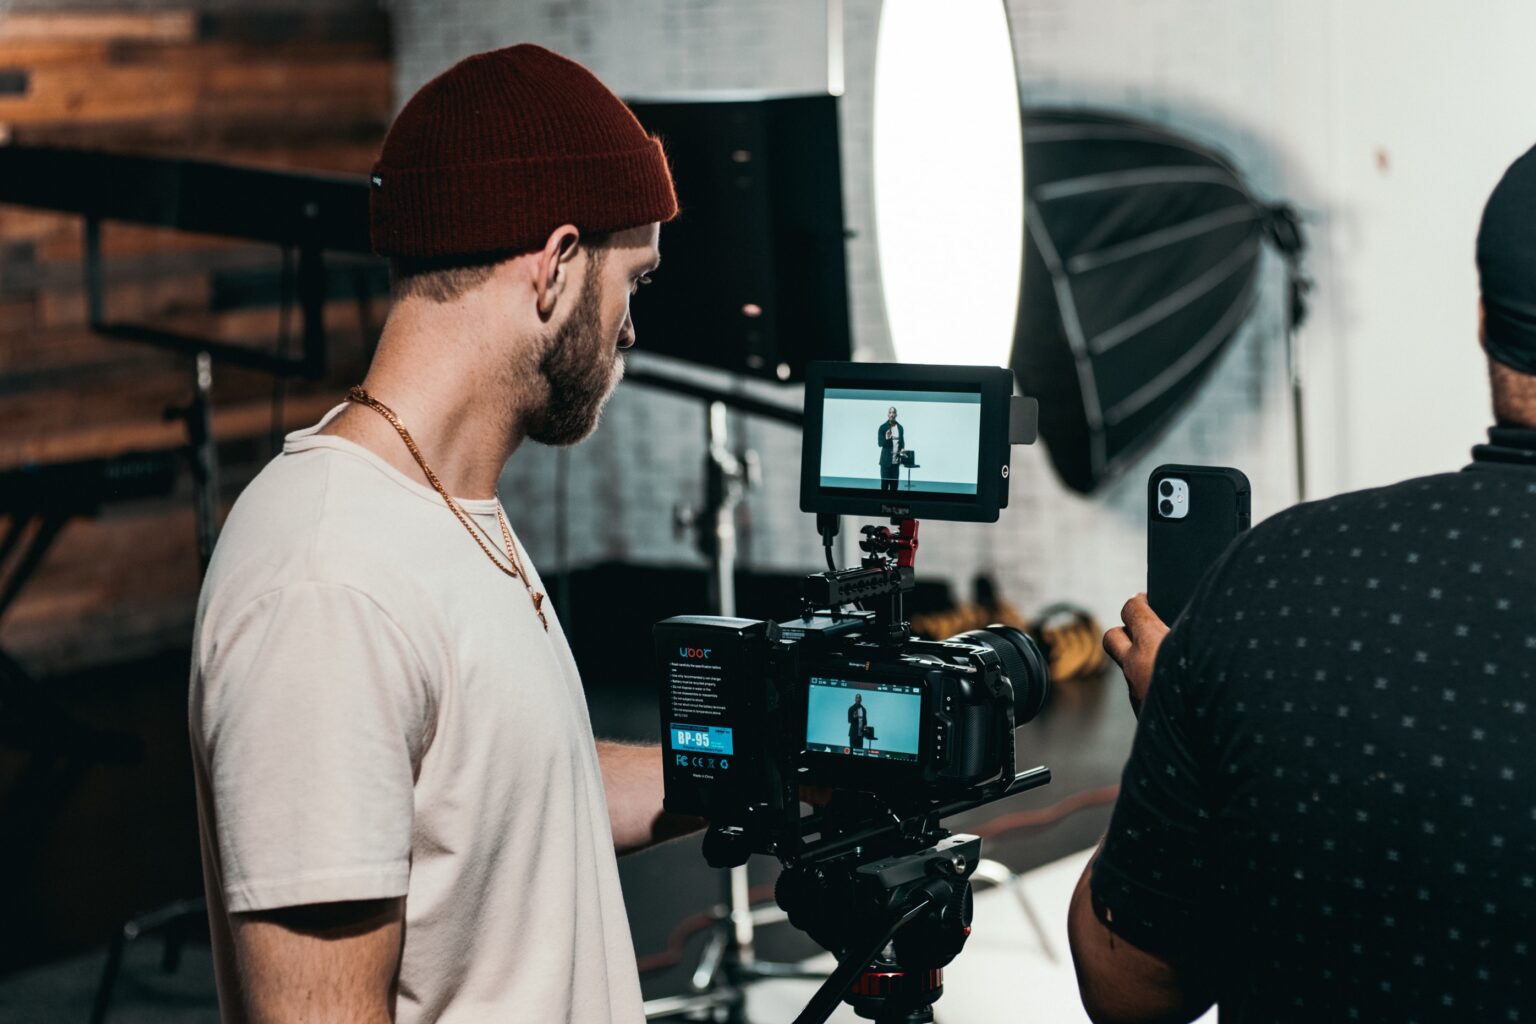
Choose cameras that suit your budget and requirements. Ideally, you’ll want cameras with good low-light capabilities and the ability to output a clean HDMI signal. Place your cameras strategically to capture different perspectives. Consider wide shots, close-ups, and any specific angles that will enhance the viewer experience.
Step 3: Video Switching
To seamlessly switch between camera feeds, you’ll need a video switcher or mixer. There are various options available, from hardware switchers to software solutions. Connect each camera’s HDMI output to the switcher and set up your desired switching configuration. This will allow you to transition smoothly between camera angles during the live stream. Or you can invest in an all-in-one live streaming solution like YoloBox Pro or YoloBox Ultra, that allows you to encode, monitor, switch, stream and record all in one device. No extra equipement required.
Step 4: Audio Integration
High-quality audio is crucial for a professional live stream. Consider using a dedicated audio mixer to blend audio from multiple sources, such as microphones or audio interfaces connected to each camera. This will ensure clear and balanced audio throughout the broadcast.
Step 5: Broadcasting Software
Select a reliable live streaming software platform that supports multi-cam setups. Popular options include OBS Studio, vMix, or Wirecast. These platforms allow you to bring in multiple camera feeds, mix audio, add graphics, and stream to your desired platforms (e.g., YouTube, Facebook, Twitch).
Step 6: Network Stability
A stable internet connection is essential for a smooth live stream. Make sure your network can handle the bandwidth requirements of multiple camera feeds. Consider using wired connections whenever possible for optimal stability. Test your internet speed and ensure it meets the recommended requirements for your chosen streaming platform.
Step 7: Rehearse and Test
Before going live, rehearse your multi-cam setup. Familiarize yourself with the video switcher, audio mixer, and streaming software. Test all cameras, audio sources, and graphics to ensure everything is functioning as expected. Conduct test streams to identify any potential issues and make necessary adjustments.
Step 8: Engage with Your Audience
During the live stream, engage with your audience through live chat or comments. Encourage viewers to interact by answering questions or addressing their comments. This creates a sense of community and enhances the overall viewer experience.
Step 9: Post-Production and Promotion
Once the live stream is over, consider repurposing the content. Edit the footage from different camera angles to create highlight reels or shorter clips for social media platforms. Promote the recorded stream to reach a wider audience who may have missed the live event.
Producing a multi-cam live streaming event can elevate your content and engage your audience in a whole new way. By following these steps and investing in the right equipment and software, you’ll be able to create professional-quality live streams that leave a lasting impact on your viewers. Embrace the power of multi-cam setups and take your live streaming to the next level.


